Hey guys!!
How are you? I hope you are having a wonderful day! I was feeling really crafty the other day and wanted to find something DIY to try out on my blog, kind of similar to the candles I made, so I had a search around on my social medias and came across this Marbled Cups DIY on facebook and thought I would try it out and tell you all about it! Excited? I am so lets get into it!


Firstly, you will need a deep container/bowl that you aren't scared to get dirty, one or a pack of plain white coffee mugs depending on how many cups you want to marble, Nail polishes of your choice and a Acrylic varnish and sealer.
I won't lie to you, this is super simple and you can make so many in no time flat.
Firstly you will want to three quarter fill the bowl with warm water (it has to be warm, not cold), working quickly, you then tip a good amount of nail polish into the water - try and move the polish around so it's not just in one spot. You can blow on specific areas to disperse the polish even further. Next all you need to do is dip the base of the mug in and around the water making sure to pick up as much polish as possible then place it upside down on a bench top to dry.


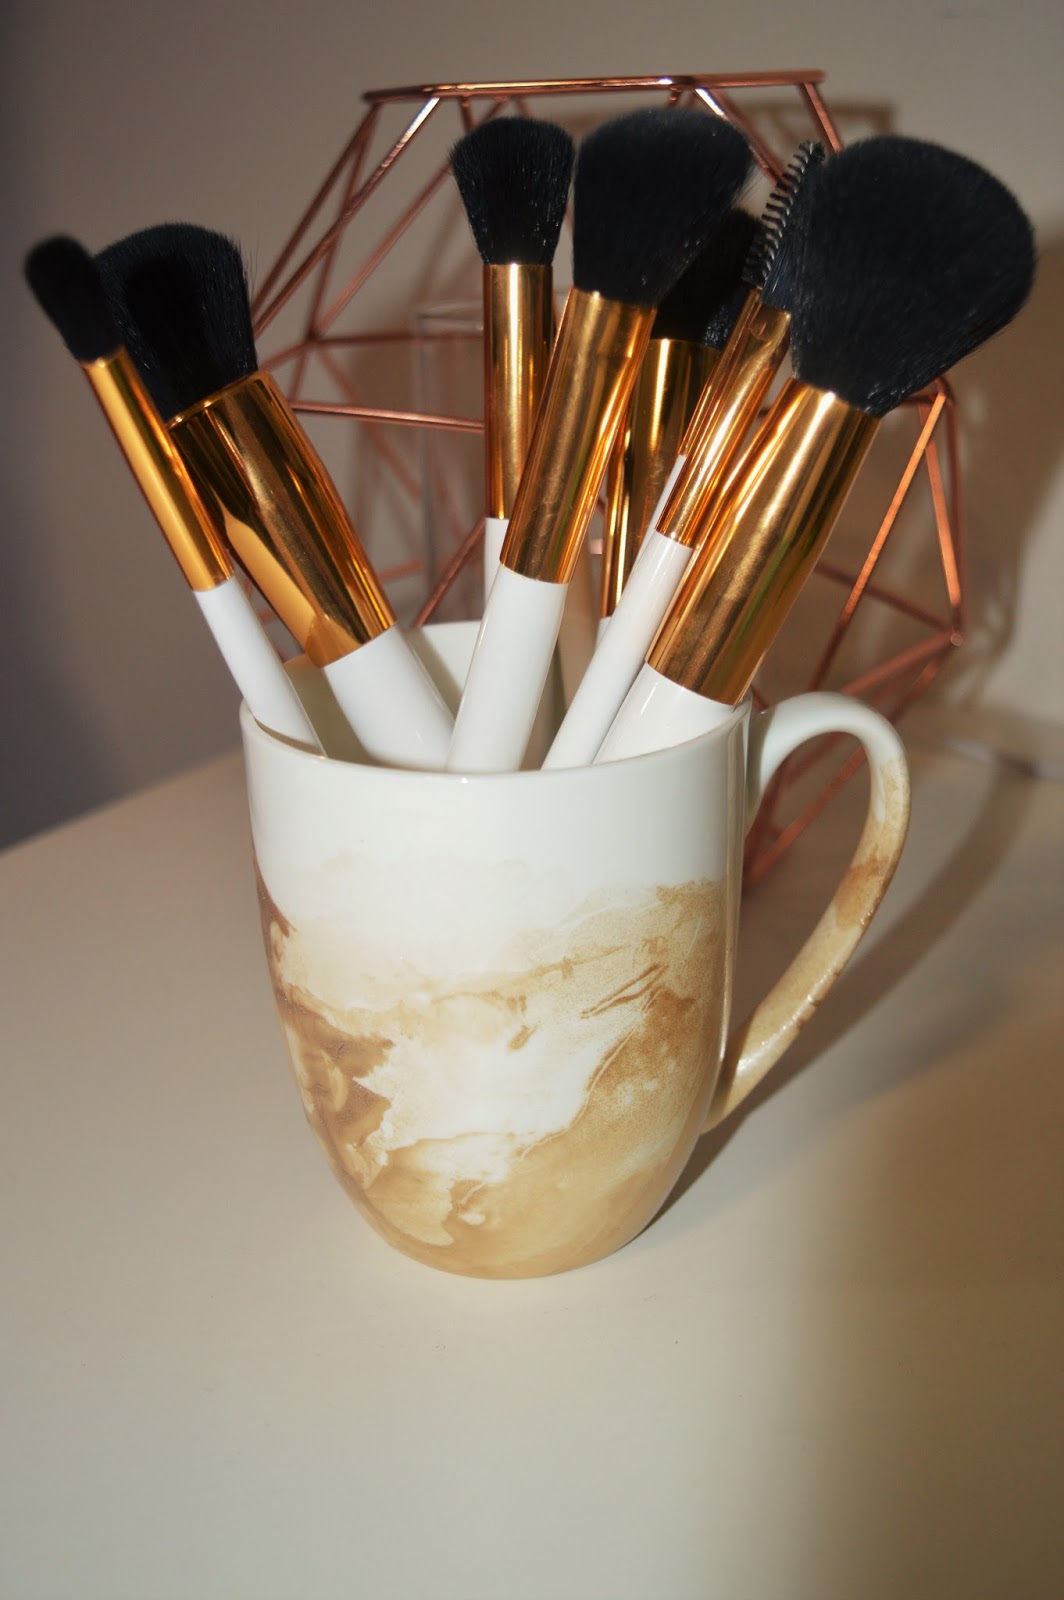
As you can see in the pictures above you can use multiple colours on one cup or just one, both option make pretty cups. Once the polish has dried - after 24hrs or so - you can then coat the cups with the acrylic sealer so that the polish doesn't flake or become damaged. I found that the cup with two different colours has taken the longest to dry and even after coating with the acrylic sealer still feels tacky. However I will be coating it again and hopefully that will help with the tackiness. As you can see I also attempted this with a black mug but I feel like the white mugs had the best outcome even though I do like the black mug I just feel like the white mugs are much prettier, what do you think?

NOTE - these mugs can not be used in a dishwasher or microwave, they must be hand washed.
For this reason I decided to use my mugs for things like storage and plants which I think is a lovely alternative. I love the way the mugs just blend into my everyday household decor. A succulent is the best plant to put in these mugs as it is very difficult to put a drain hole in the base of the mug so the fact that the succulent doesn't need much water is perfect. I placed a handful of small pebbles in the base of my mug to act as drainage for my succulent and added the pebbles on top purely for looks. If you have any other suggestions on what they could be used for, feel free to leave a comment! I still have a few without a purpose so far.
Thank you so much for reading and if you like this feel free to let me know! I really like these sort of posts and hope to do more in the future! I hope you are all having a fantastic week and I'll see you all in my next post!
Until Next Time
BrittanieDe-Anne xoxo
No comments:
Post a Comment